
If you’re looking to bring more natural wellness into your routine, making your own essential oil roller blends is a pretty handy way to do it. Having a few roller bottles ready to go makes daily applications quick and simple, whether you need a mood boost, want to ease aches, or are looking for immune support. I’ll walk you through everything you need to know to confidently blend your own mixes for everyday use.
Why Make Your Own Essential Oil Roller Blends?
Blending essential oils into rollers isn’t just about fun DIY projects. It makes aromatherapy super practical. You get control over the ingredients and can adjust blends based on what your body or mood needs. Roller blends are easy to carry, they’re mess free, and they offer a nice alternative to room sprays or diffusers. I’ve personally found them perfect for tossing in a bag or keeping at my desk for a quick swipe when I need a little lift.
Many store bought blends use extra fillers, fragrance oils, or aren’t clear about their sourcing. Mixing your own means you can be picky about quality and customize for personal preferences. Plus, it’s more budget friendly over time and you can tailor each blend for specific uses, such as soothing sore muscles, calming nerves, or helping you breathe easier during allergy season. Not only that, you’ll also pick up blending skills and gain a better understanding of each oil’s profile just by playing around with new mixes.
Beginner’s Guide: What You Need to Get Started
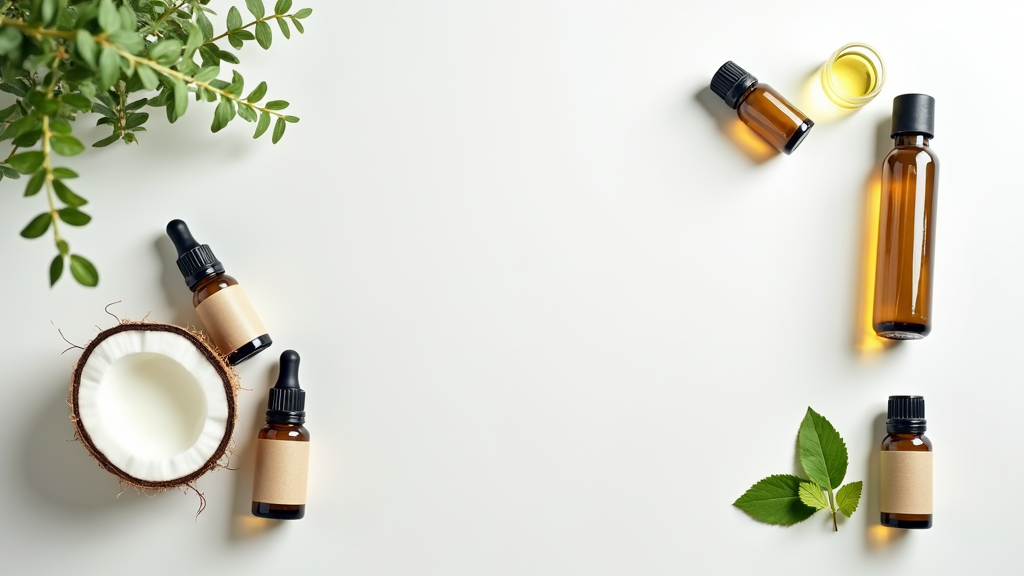
Starting with roller blends doesn’t require a ton of stuff. Here’s what I usually have on hand:
- 10 ml Glass Roller Bottles: Amber or blue glass is best since it protects oils from light. Most blends are measured for these bottles.
- Carrier Oil: Fractionated coconut oil is my top pick because it’s lightweight, doesn’t clog rollers, and soaks in quickly.
- Essential Oils: Stick with pure, high quality oils. Some good starter basics: lavender, peppermint, lemon, frankincense, and tea tree.
- Labels or Permanent Marker: Labeled bottles save you from forgetting which blend is which in a hurry!
- Small Funnel or Dropper: Makes filling bottles a lot less messy (trust me, I’ve learned the hard way).
Keeping a clean working area and sanitized bottles is really important. Oils are powerful and should stay uncontaminated for the best experience. I always recommend washing and drying the bottles thoroughly before each use.
How To Mix and Fill a 10ml Roller Bottle
The process is pretty straightforward. Here’s how I usually do it:
- Pick the oils you want and decide how many drops go into your 10ml bottle.
- Drop your chosen essential oils straight into the roller bottle.
- Fill the rest of the bottle with fractionated coconut oil, leaving a bit of room at the top to pop the rollerball in without overflow.
- Firmly snap the rollerball insert in and screw on the cap.
- Label and date your blend. Saves lots of guesswork later.
- Gently roll the bottle between your hands to blend everything together.
It’s as easy as that! Now you’ve got an all natural roller ready for whenever you need it. Remember that mixing in a clean space and using fresh oils can help your blend last longer and smell its best.
My Favorite Essential Oil Roller Blends for Everyday Use
I’ve tested lots of combinations and these blends have really earned a permanent place on my shelf. They stick to safe guidelines for daily skin application and use 10ml bottles as the base.
For Everyday Aches and Pains
This blend is awesome for muscle tension or soreness after a workout or a long day. Roll it over affected areas: shoulders, neck, calves, or any sore spots. It is also a great go to after yoga or when you’ve spent a long time at your desk.
- 10 drops Frankincense
- 10 drops Marjoram
- 10 drops Lemongrass
- 10 drops Copaiba
- Fill with fractionated coconut oil
Frankincense and copaiba are both valued for helping the body deal with inflammation, while marjoram and lemongrass bring a gentle soothing effect for muscles.
Apply wherever you are experiencing aches and pain.
Mood Support (For Sadness or Low Days)
When I need a mood pick me up, this blend helps create an uplifting and comforting aroma. I like to apply it to the back of my neck, over my heart, or roll it onto my hands and inhale. It’s a bright and cheerful blend, perfect for those moments where you could use a boost.
- 3-4 drops Clary Sage
- 3-4 drops Lemongrass
- 3-4 drops Wild Orange
- Fill with fractionated coconut oil
Wild orange and lemongrass add a cheerful, bright scent while clary sage brings in some grounding calm.
Apply to the back of neck or over heart, or roll on wrist and inhale.
Immune Support
This roller blend helps support strong defenses, especially when there’s something going around. I use it on the bottoms of my feet or along my spine. It’s a good habit to apply before heading out or after returning from public places.
- 12 drops Oregano
- 14 drops On Guard
- 18 drops Lemon
- 14 drops Melaleuca
- Fill with fractionated coconut oil
Oregano is strong, so don’t overdo it. Keeping the dilution level skin friendly is super important.
Apply to reflex points.
Anxiety Relief and Calming
When stress ramps up, this blend is a go to. Roll it onto wrists, the back of the neck, or the bottoms of your feet. You can also rub a little between your palms and take a deep inhale for instant comfort.
- 10 drops Balance
- 10 drops Serenity
- Fill with fractionated coconut oil
Grounding and calming oils work together for a peaceful vibe, making it easier to breathe deep and stay chill.
Apply to your wrists and inhale deeply.
My Doterra referral link: https://referral.doterra.me/4740777
“Here’s a little transparency: Our website contains affiliate links. This means if you click and make a purchase, we may receive a small commission. Don’t worry, there’s no extra cost to you. It’s a simple way you can support our mission to bring you quality content.”
Tips for Creating Your Own Custom Blends
Once you get the hang of it, experimenting is pretty fun. Here are a few tips that helped me when I started mixing:
- Stick to Safe Dilutions: Always use less drops of oil when using on children.
- Match Scents and Purposes: Citrus oils mix well with florals for uplifting blends, while minty oils like peppermint go great with eucalyptus and rosemary for a fresh, clear scent.
- Note Potential Skin Sensitivities: Oils like cinnamon, oregano, and clove are strong and can irritate if overused. It’s a good idea to do a patch test before trying a blend all over. If you’ve never used a specific oil before, apply a diluted drop to your inner arm and wait a few hours to be sure it agrees with your skin.
- Write Down Your Recipes: Once you come across a blend you love, jot it down! Memory gets fuzzy faster than you think if you’re testing out new ideas. Keeping a small notebook or using a notes app on your phone can be a game changer for tracking new creations.
Common Questions About Making Roller Blends
I get a lot of the same questions from friends trying this for the first time, so here’s some quick guidance:
Q: Can I use any oil for the carrier?
A: Fractionated coconut oil is my favorite for its consistency and easy absorption, but sweet almond, jojoba, or grapeseed oil work too. Each carrier has a slightly different feel, so test a few to pick your favorite.
Q: How long do roller blends last?
A: If you’re using fresh, pure oils and storing bottles away from heat and sunlight, roller blends can last up to a year. Citrus oils break down quicker, so try to finish those sooner. Regularly check each blend for any change in smell or appearance to make sure they’re still fresh.
Q: Can I use essential oils neat (undiluted) in rollers?
A: It’s always safer to dilute with carrier oil to avoid skin irritation. The only exception sometimes is lavender, but even then, I usually dilute. Dilution also helps your oils last longer, saving money in the long run.
Q: Where can I apply roller blends?
A: Popular spots are wrists, temples, the neck, behind the ears, and the bottoms of feet. Avoid eyes, mucous membranes, and broken skin. If you’re looking to target certain areas, like sore muscles, stick to that spot for best results.
Little Extras That Make a Huge Difference
A few small things can make your blending and using experience better:
- Use a glass dropper for easier measurement and mixing.
- Add a cute label or washi tape band to brighten up your bottles.
- Make a storage tray or pouch to keep blends upright and organized.
- Write a date on the bottle for quick freshness checks.
- Try decorating your roller bottles with stickers or colored caps to match the blend’s scent or purpose.
Getting creative with your storage and labeling can add a personal touch to your routine. It also helps friends or family spot their favorites quickly if you share blends with others in your home.
Final Thoughts
Getting into essential oil rollers opens up a ton of ways to fit natural wellness into daily life without fuss. With pure oils and simple recipes, you can support your mood, body, and immune system while enjoying beautiful scents. If you’re feeling creative, try making your own unique blends. Everyone’s preferences are a little different, and it’s cool to come up with something that feels just right for you. With some practice, you’ll have a lineup of rollers you can rely on for whatever comes your way. Remember, the most important part is enjoying the process and learning what works best for your own routine.